
Installing and Configuring Git
Lecture: Installing Git on MacOS
Lecture: Configuring VSCode with Git
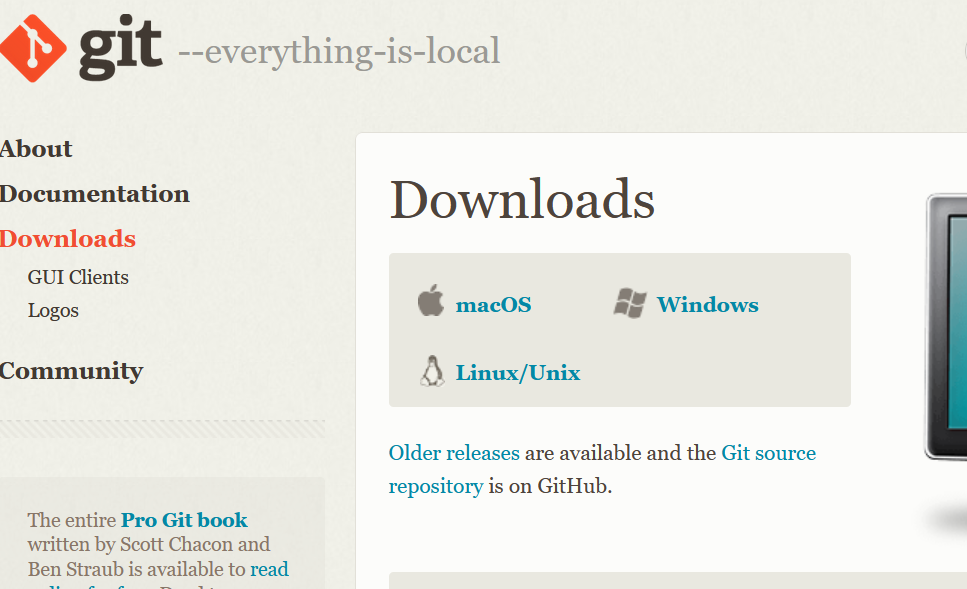
Download Git – Visit this website to download Git for your operating system.
Choose your operating system and download the latest stable release.
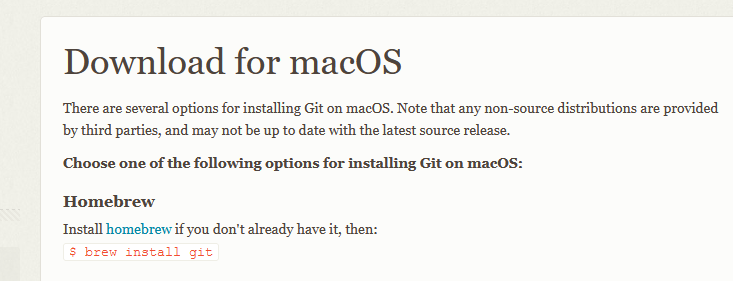
Downloading Git for MacOS
Click on macOS. It should take you to a page with instructions for installing Git.
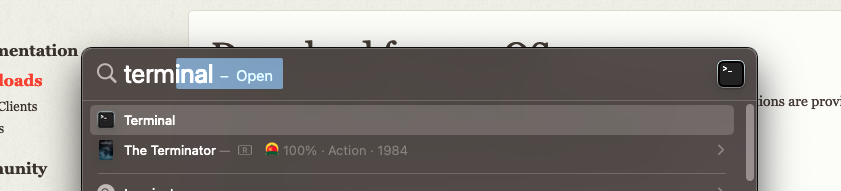
Open a terminal by pressing “Command + Space” and type “terminal”. Choose the application named Terminal.
If you don’t already have it, install Homebrew by copying the line of code on the Homebrew site. Paste it into the terminal and press enter. If you don’t know if you have it or not, try installing Git and if it fails, install Homebrew.
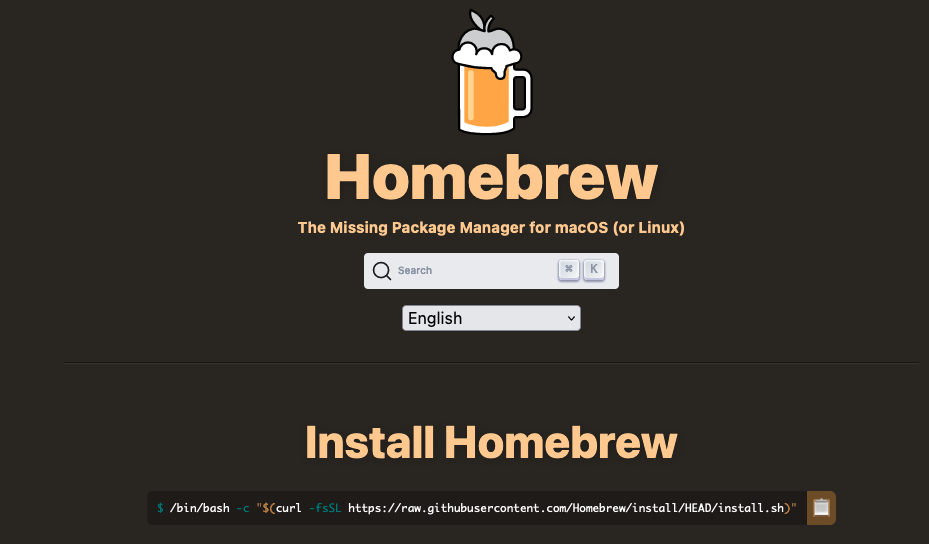
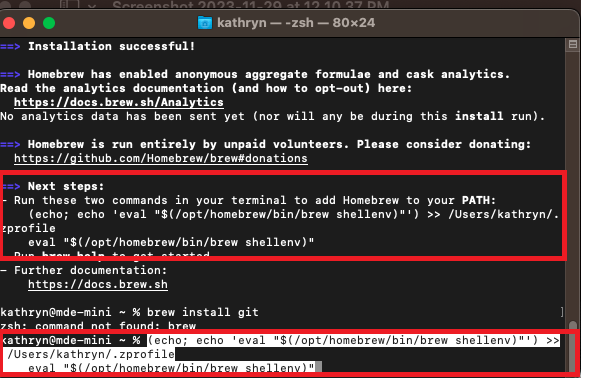
Don’t forget to run the commands given by Next Steps after Homebrew is installed.
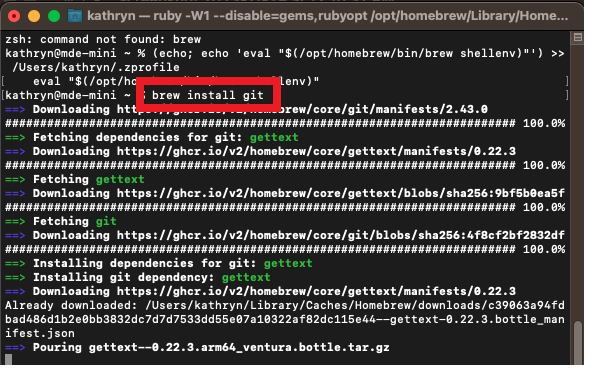
Install Git by running brew install git
Run git on the command line to ensure it was installed successfully.
To run git, type git and press enter.
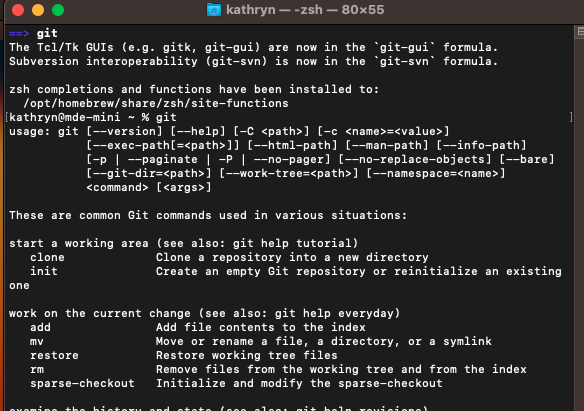
If git runs, you’re done! If not, make sure you installed Homebrew correctly, including adding brew to your PATH.
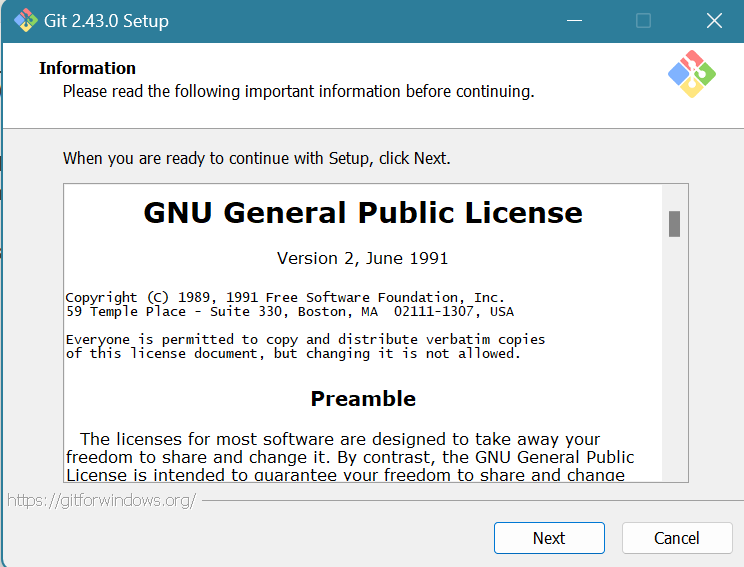
Downloading Git for Windows
After the installer downloads, run the installer. Click Next.
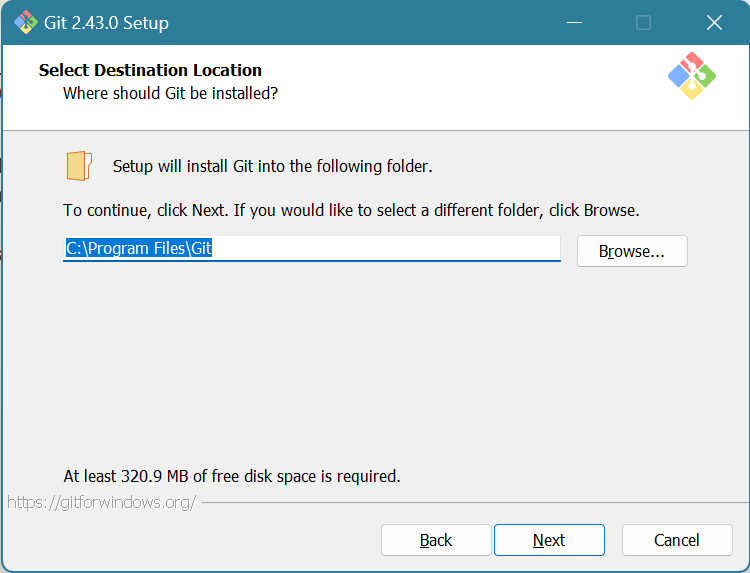
The default path is fine. Click Next.
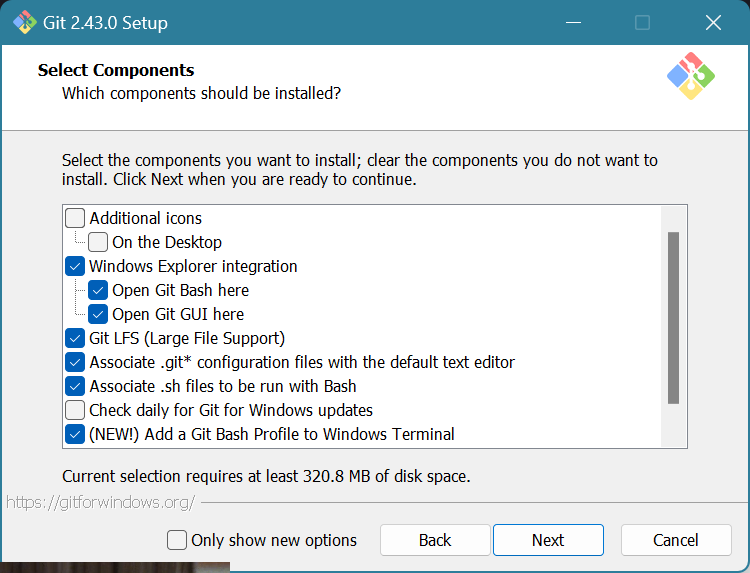
If you want a Desktop Icon, check the box next to “On the Desktop”. You won’t really need to run the Git GUI, so you probably won’t directly run this program. You likely won’t need the icon, but that’s up to you.
If you want to be able to right click and see “Open Git Bash” or “Open Git GUI” from the file explorer, check the boxes next to
Windows Explorer integration
Open Git Bash here
Open Git GUI here
Make sure to check the boxes next to
Git LFS
Associate .Git* configuration files with the default text editor
Associate .sh files to be run with Bash
Add a Git Bash Profile to Windows Terminal
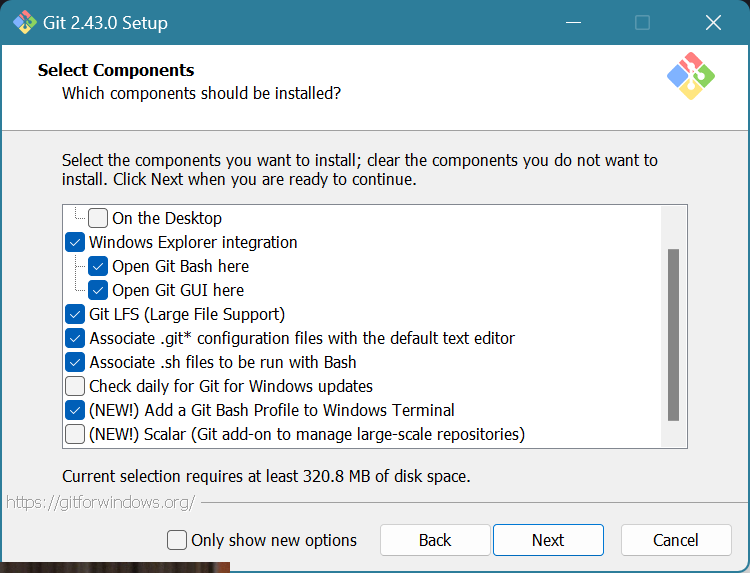
Uncheck the box next to
Scalar (Git add-on to manage large-scale repositories)
Click Next.
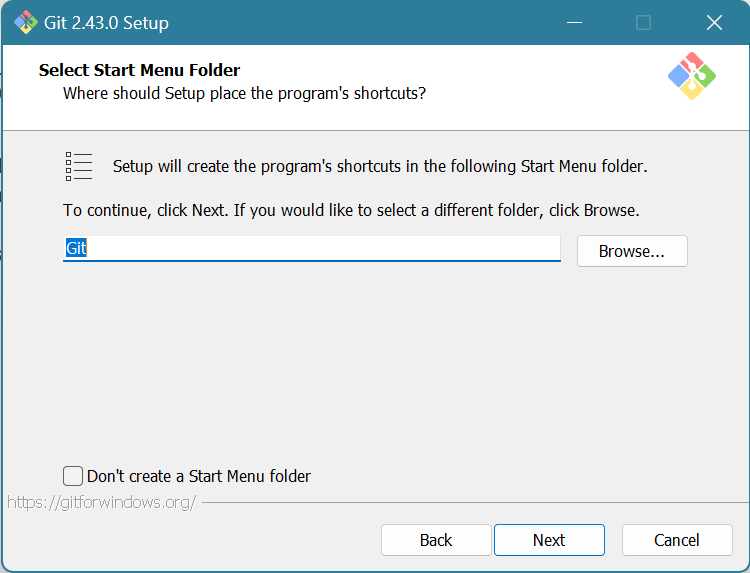
Choose what you want to name the shortcuts in your Start Menu or click “Don’t create a Start Menu folder” if you don’t want the shortcut. Click Next.
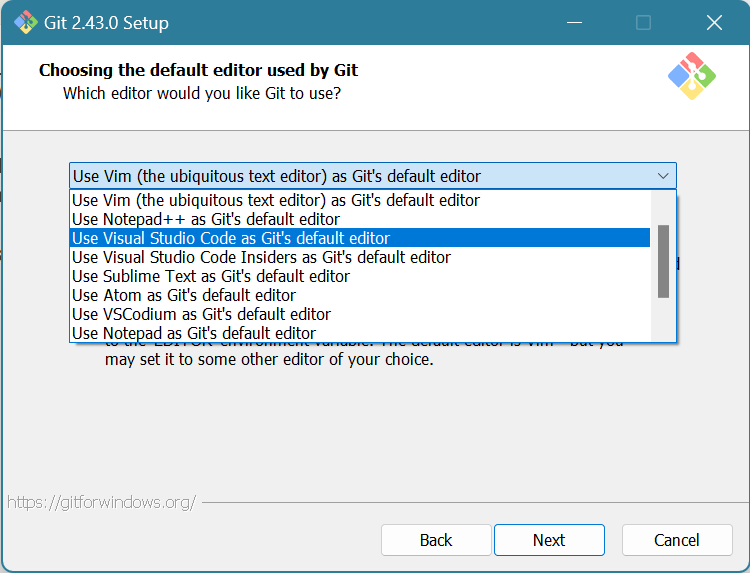
Choose “Visual Studio Code as Git’s default editor”. Click Next.
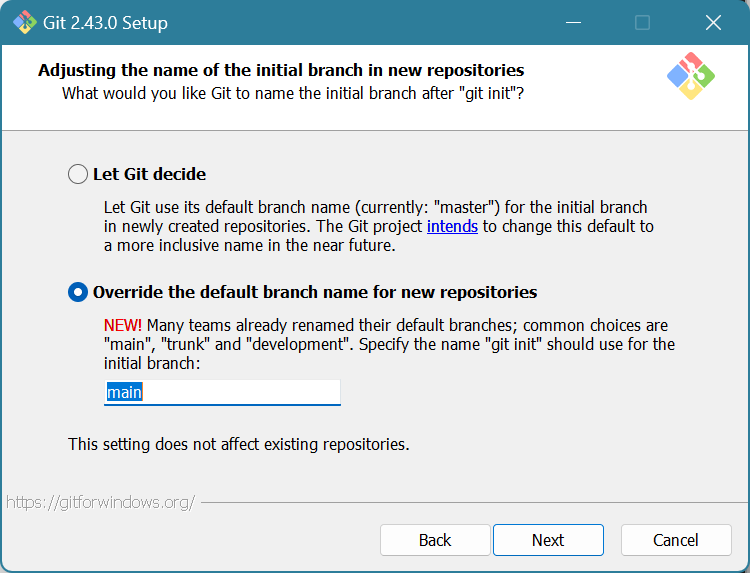
Either of these options is fine. Traditionally, your main branch on Git is named the “master branch”. Branches are how you test out features; you switch branches to make a copy of the code to toy around with features without breaking the main build. When your feature is ready, you merge it back onto the “master branch”. However, recently, this has come up as perhaps inappropriate, and so Git is working to rename it.
If you want to rename your main branch now, choose the second option. If you want to leave it until Git officially renames it, choose the first option. Either option is fine.
Click Next.
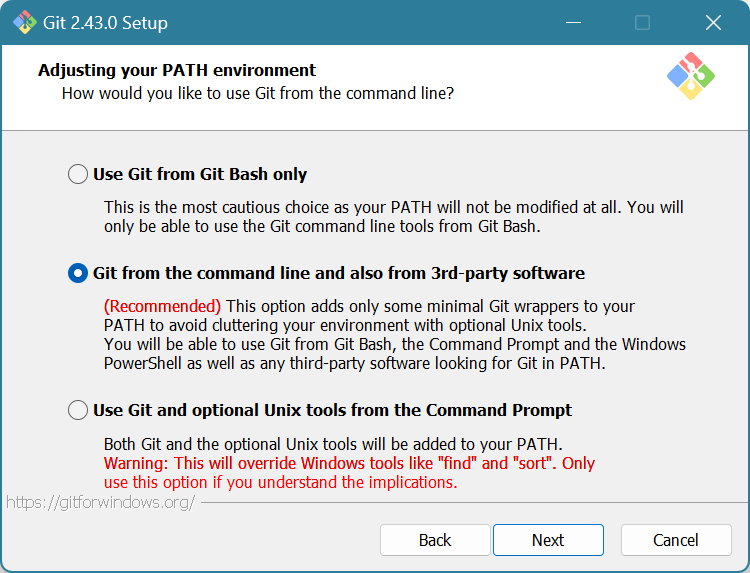
Choose “Git from the command line and also from 3rd-party software”. You need to check this so that VS Code can access Git.
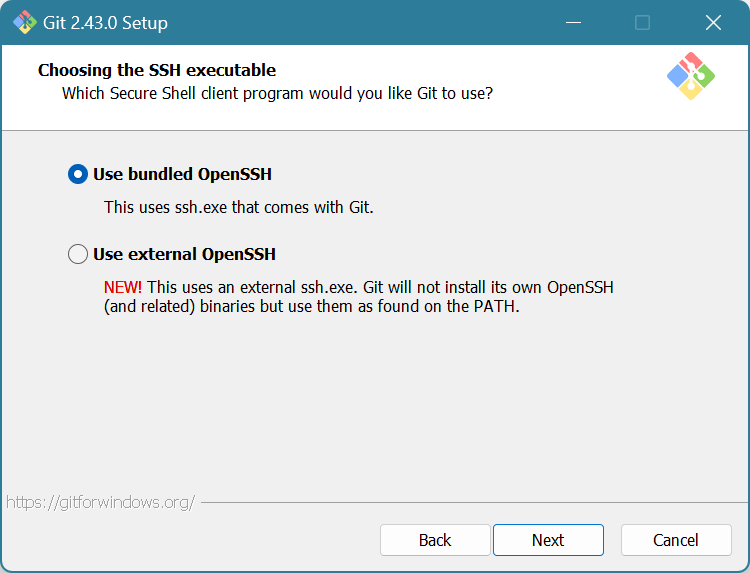
Choose “Use bundled OpenSSH”. Click Next.
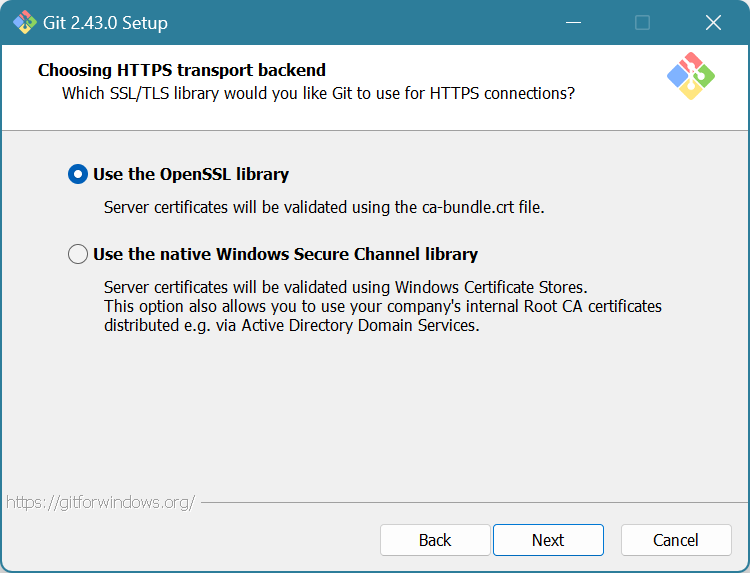
Choose “Use the OpenSSL library”. Click Next.
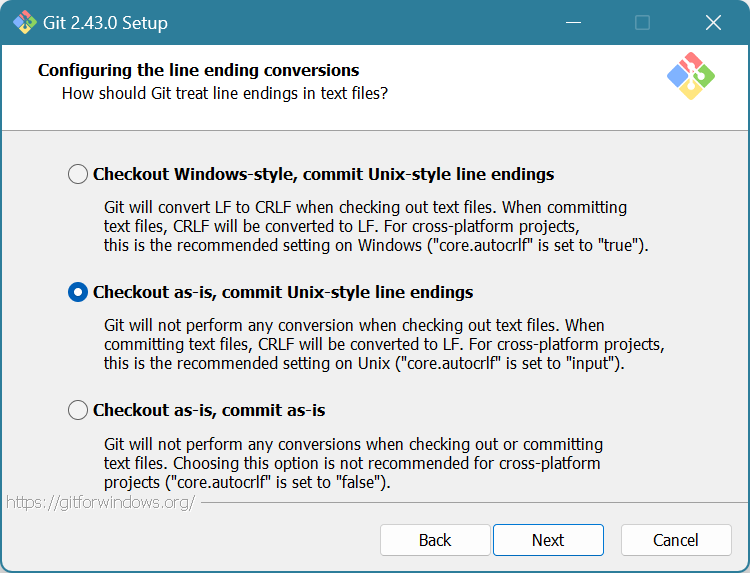
Choose “Checkout as-is, commit Unix-style line endings”. This helps preserve formatting when getting code to and from GitHub. Click Next.
Choose “Use MinTTY”. Click Next.

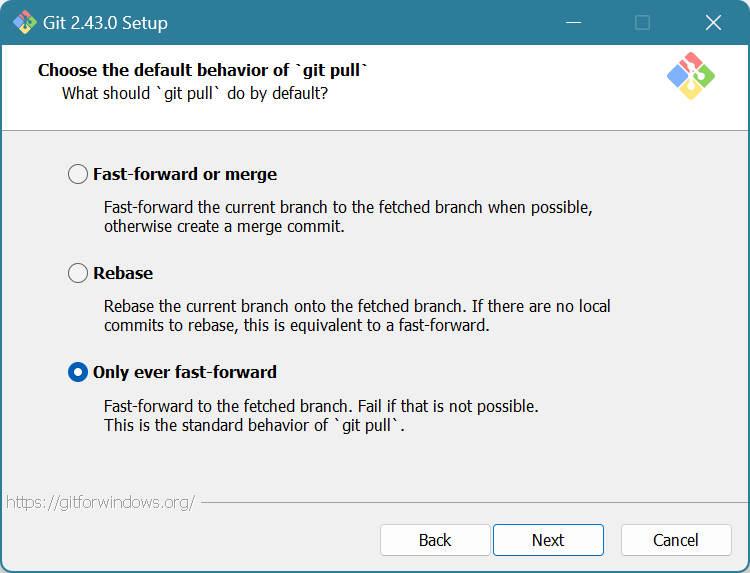
Choose “Only ever fast-forward”. Click Next.
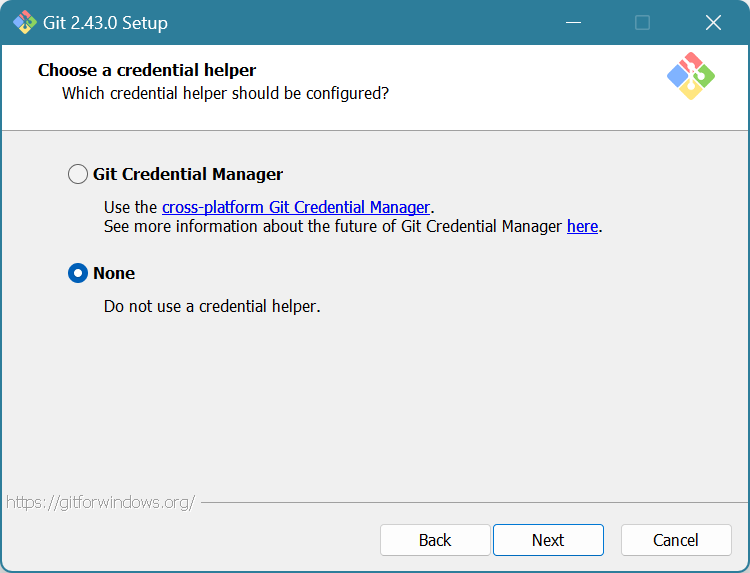
Choose if you’d like to use the Credential Manager. I’m only connecting VSCode with GitHub, so I don’t need it. You can always reinstall to add features if you find out that you do need it later. Click Next.
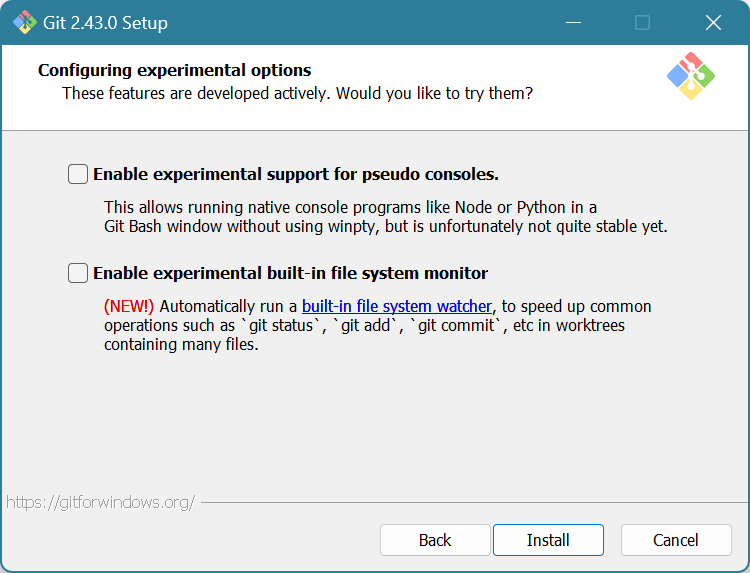
Check both boxes. Click Next.

Uncheck both boxes. Click Install.
You’re all done! You don’t need to launch Git or view the release notes unless you want to. Click Finish.
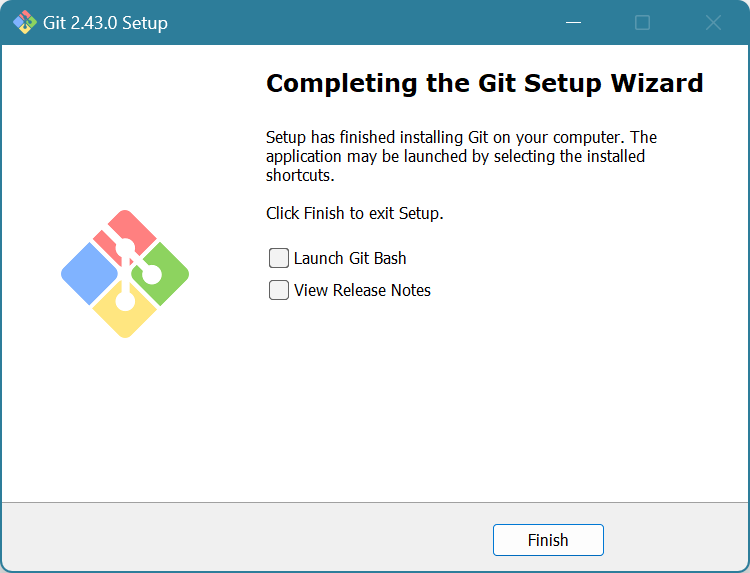
Git is installed!
