Using Gradle Projects and TestNG with VSCode
Lecture: Running Gradle Projects
Lecture: Using TestNG with VSCode
Intro to Gradle
This semester, we’re using a build tool called Gradle. Gradle allows you to specify exactly how your project should be built – which version of Java to use, which source files to include, which testing framework to use, etc. If you’re curious, you can see the build file in app/build.gradle. Don’t modify the file, though!
Using Gradle Tasks
There are a few ways to run a Gradle project in VS Code. If your project has a main method, you should see “Run” appear above the main method. However, not all of your projects will have a main method.
Gradle has several “tasks” built in. We’ll use the following tasks:
build – compiles your project and runs the tests
build -x test – compiles your project without running tests
run – runs the project, if it has a main method
test – runs the tests
clean – removes all the temporary build files (like .class files)
You can run tasks individually or multiple at a time.
Build
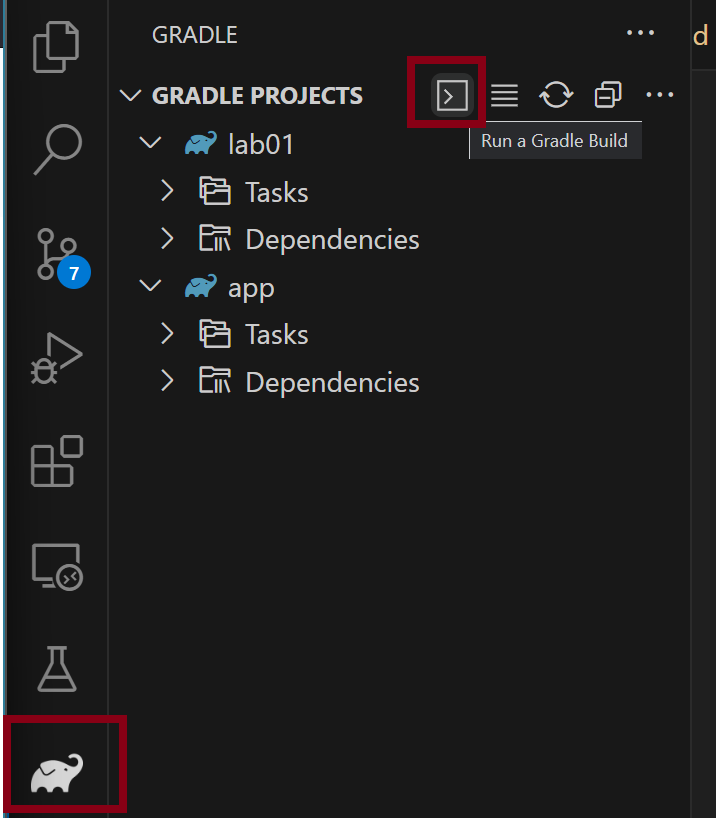
To run a Gradle task in VS Code, click on the elephant icon on the left side. At the top next to GRADLE PROJECTS, the first icon will let you run a task.
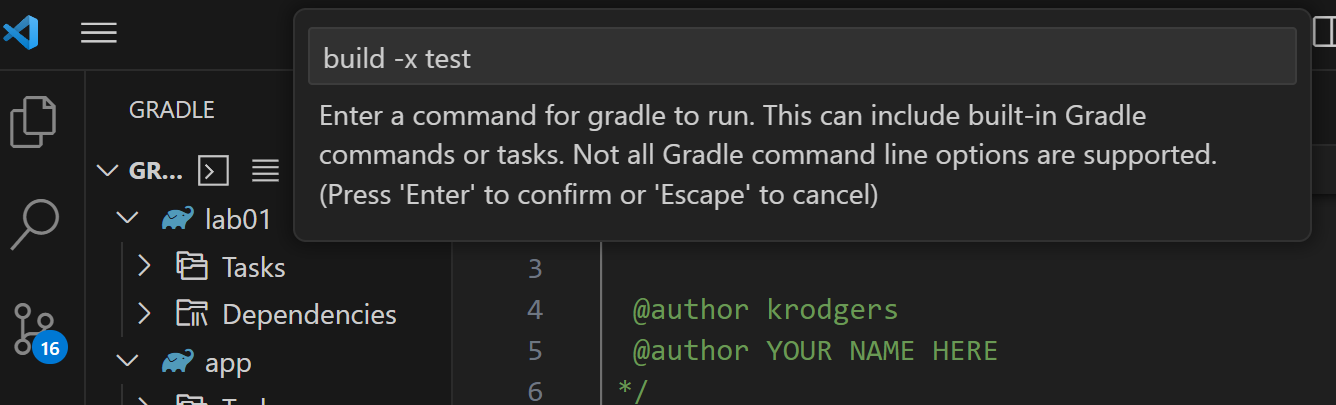
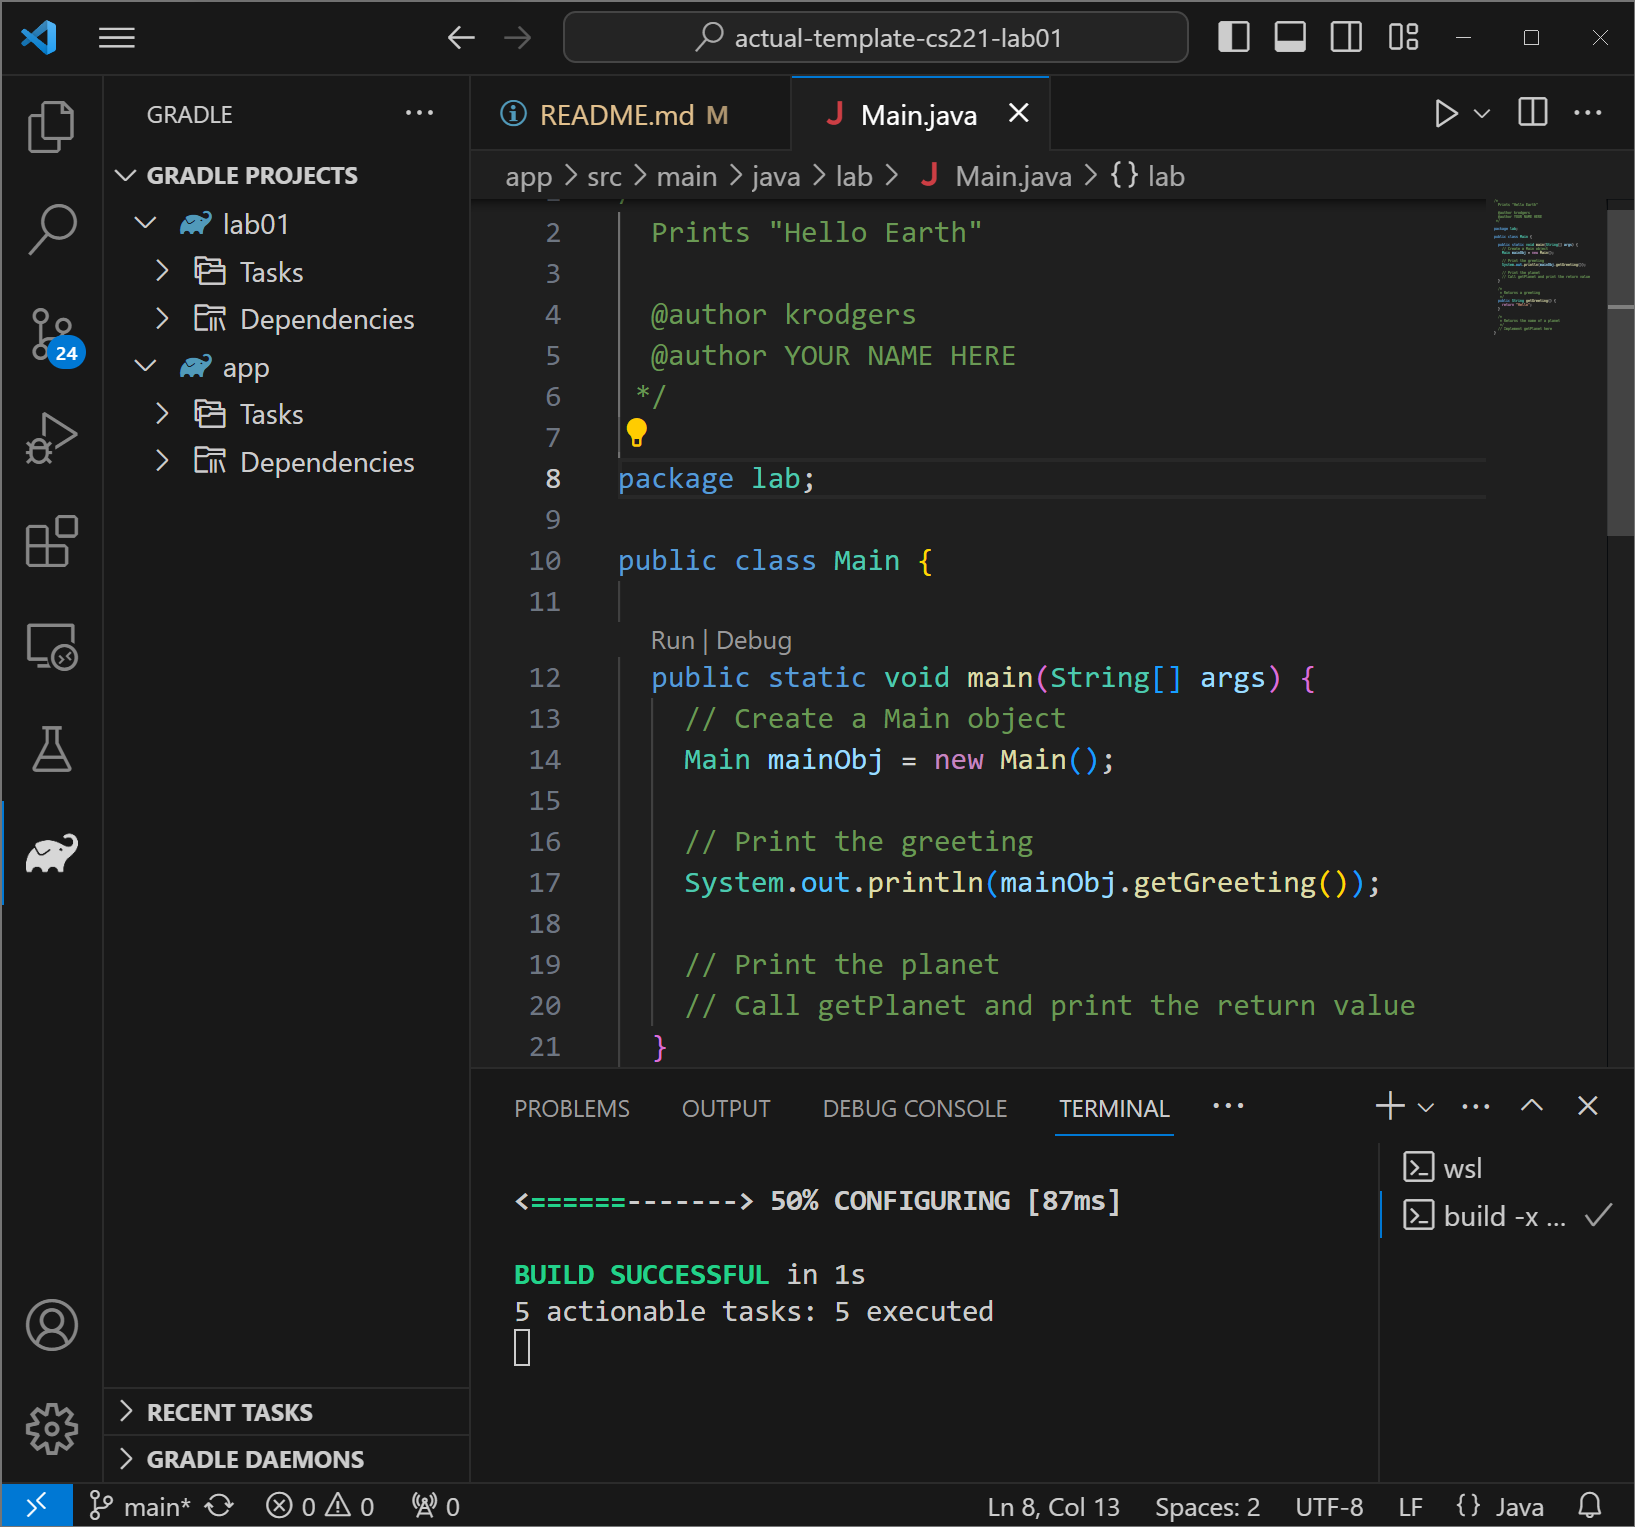
To compile your project, type build -x test in the box that pops up when you click the Run a Gradle Build icon. Press Enter to run the command.
This will compile your code, but not test it. The output will appear in the terminal.
If you have errors, the errors will appear in the terminal as well.
Run
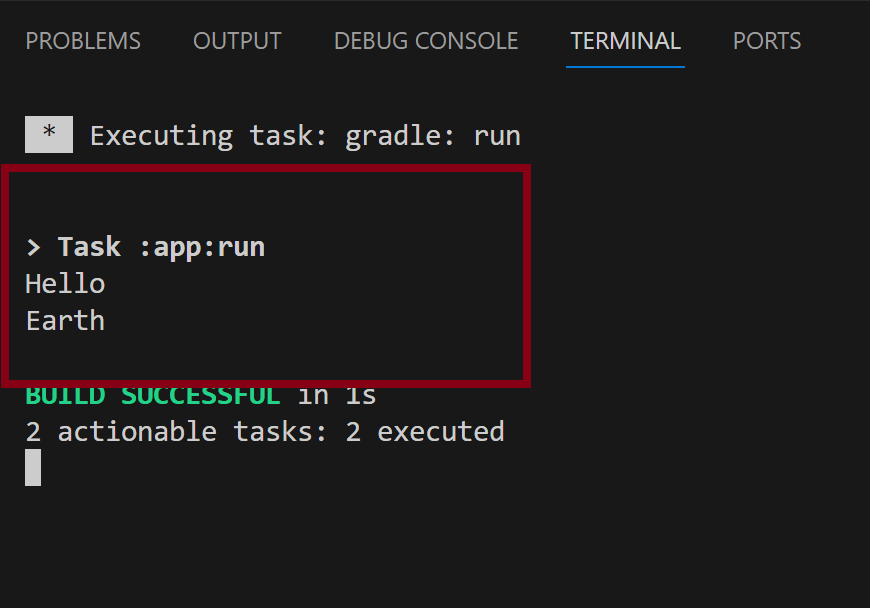
If your project has a main method, you can run it by entering run in the Gradle build box. If you haven’t previously built your project, it will first build and then run.
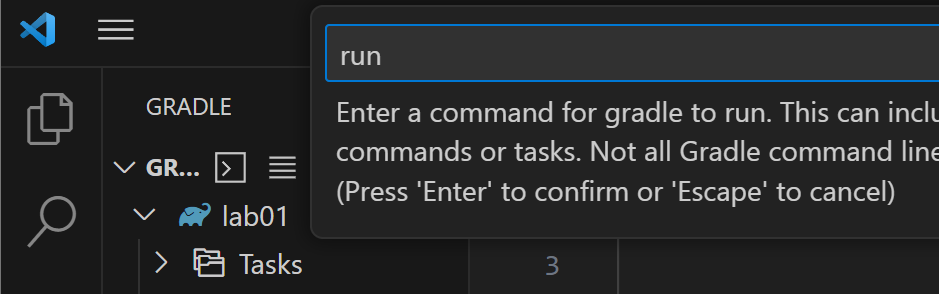
The output will appear in the terminal.
Debug
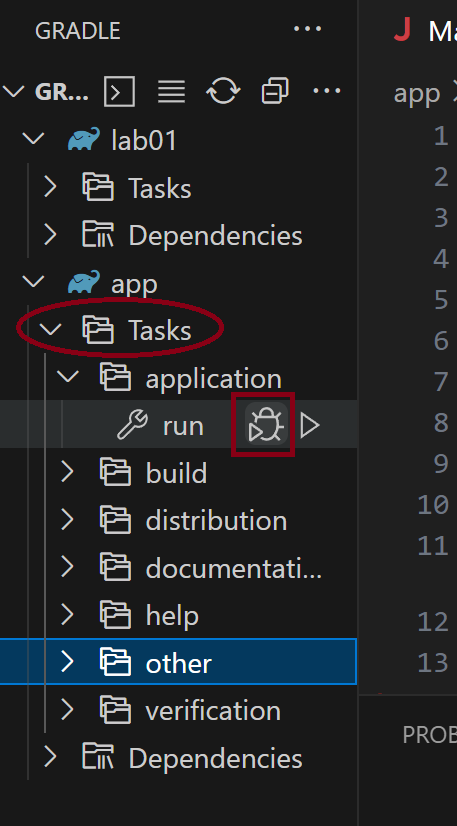
To debug the main method, it’s easiest to run the task using the GUI.
Expand the Tasks folder, then expand application. Hover over the run task and two icons should appear. The first has a bug with a play button – that’s your debugger.
Note you could run the run task by clicking the play button next to run.
Make sure you set breakpoints by clicking on the line number where you want to break. A red dot should appear.
Using the debugger is covered in a different document.
Test
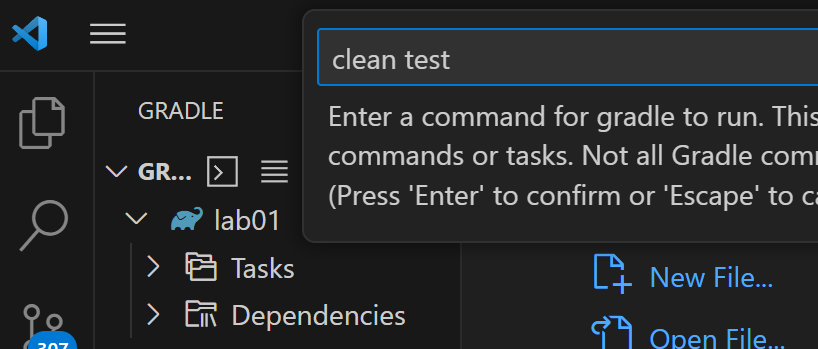
To run your tests, enter clean test.
Running clean before testing ensures that the test output appears.
The output will appear in the terminal. VS Code offers several ways to run Gradle tests; those other options will be covered in a different document.

Clean
Cleaning the project removes all of the temporary files and folders that are created during the build process. You can clean a project to force it to rebuild, which can sometimes fix weird errors. You may also want to clean your project before you commit your files to GitHub so you don’t push a bunch of files you don’t need and it’s easier to see what needs to be committed.
To clean, enter clean in the Gradle Build text box.
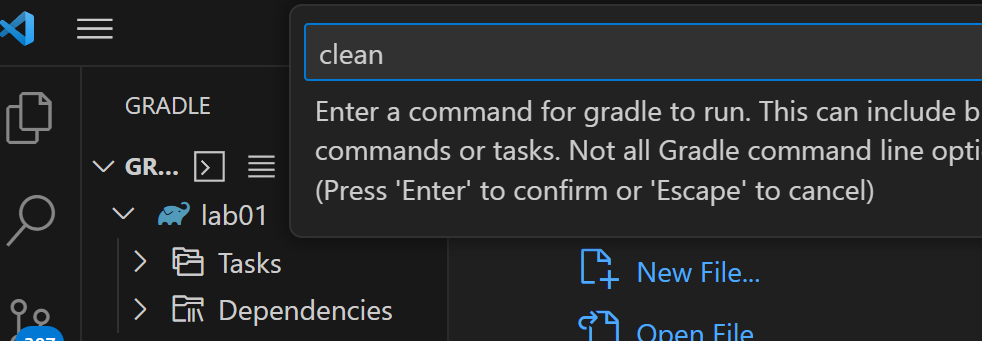
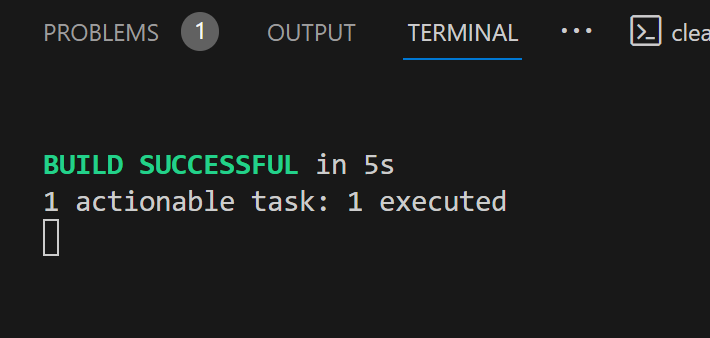
If all goes well, you’ll get a pretty simple output.
Introduction To Running TestNG Tests with VSCode and Gradle
VS Code has a pretty nifty testing interface. If you just want to run all of the tests, you can use the test task. But you can also run specific tests and debug tests by using the test interface.
Test Gradle Task
To run your tests, enter clean test.
Running clean before testing ensures that the test output appears.

The output will appear in the terminal. VS Code offers several ways to run Gradle tests; those other options will be covered in a different document.

VS Code Testing View
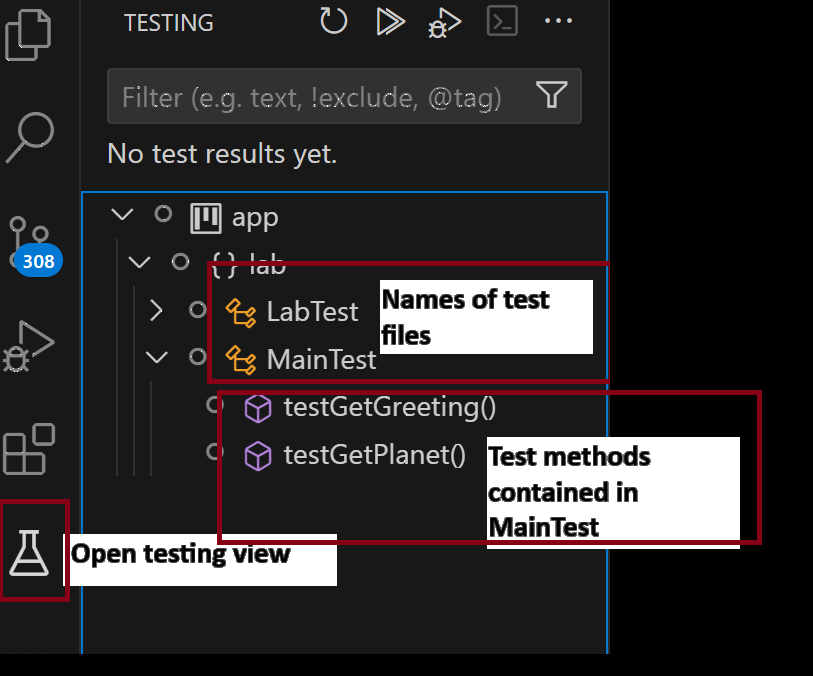
To open the Testing View, click on the beaker icon on the left side. Expand the menus until you see your test files. You can click the arrow by the test file to see a list of tests in each file.
Run All Tests or Some Tests
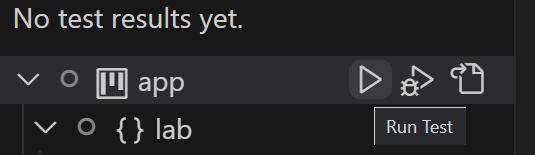
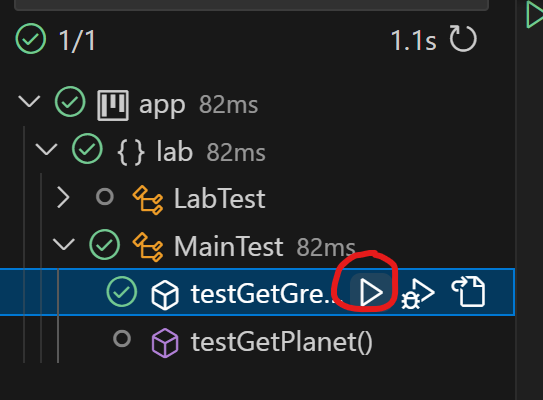
If you hover over each line, you’ll see three icons: Run, Debug, and Go to Test.
Run and Debug do exactly as they say – run or debug whatever you’re hovering over. Go to Test will take you to the implementation in the test file.
In this scenario, I have two test classes – LabTest and MainTest. If I run app, then all of the test classes’ tests will run. if I run MainTest, then all of the test methods inside MainTest will run. If I run a specific method, then only that method will be run.
For example, if I click on Run next to testGetGreeting, the only method that runs is testGetGreeting. Note there isn’t a checkmark or an X next to LabTest or testGetPlanet; those tests didn’t run!
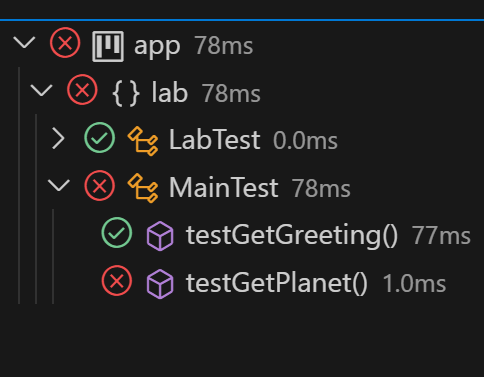
If the test passed, you’ll see a green check mark next to it. If the test failed (or any test inside the test class failed), you’ll see a red X next to it. In the picture below, all of the LabTest methods passed. In MainTest, one test passed and one test failed. Because of the failing test, it shows that MainTest has failed tests, package lab has failed tests, and the entire project app has failed tests.
Failing Tests
If a test fails, you’ll get an error pop up at the line that failed. If you click on the name of the test that failed in the Test Result panel (at the bottom), you can read the error message. The first line of the error message tells you what was expected and what the test actually got.
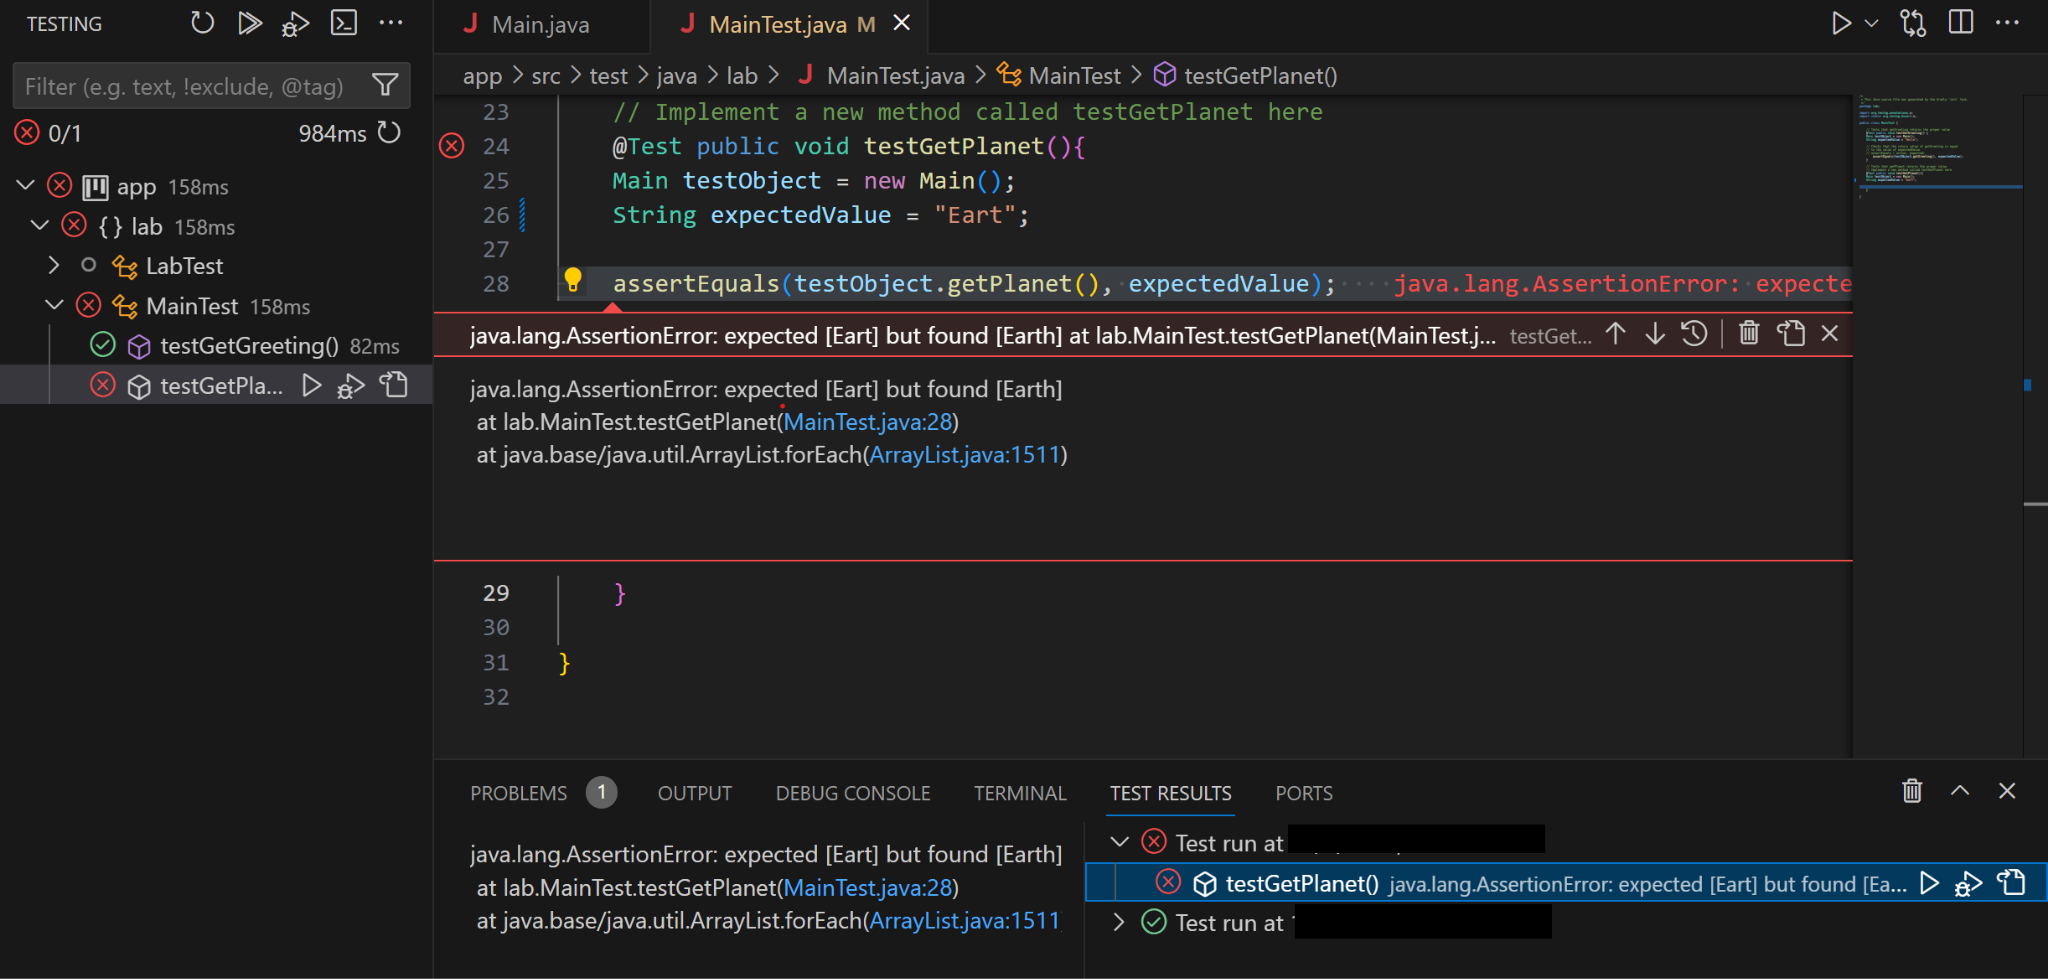
In this case, it may be easier to execute the Gradle clean test tasks so you can clearly read the error messages:

Debugging Tests
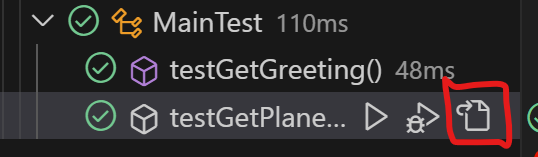
To debug, you first need to set a breakpoint, then click “Debug test”. You can use the handy “Go to Test” to take you right to the method where you want to set your breakpoint!
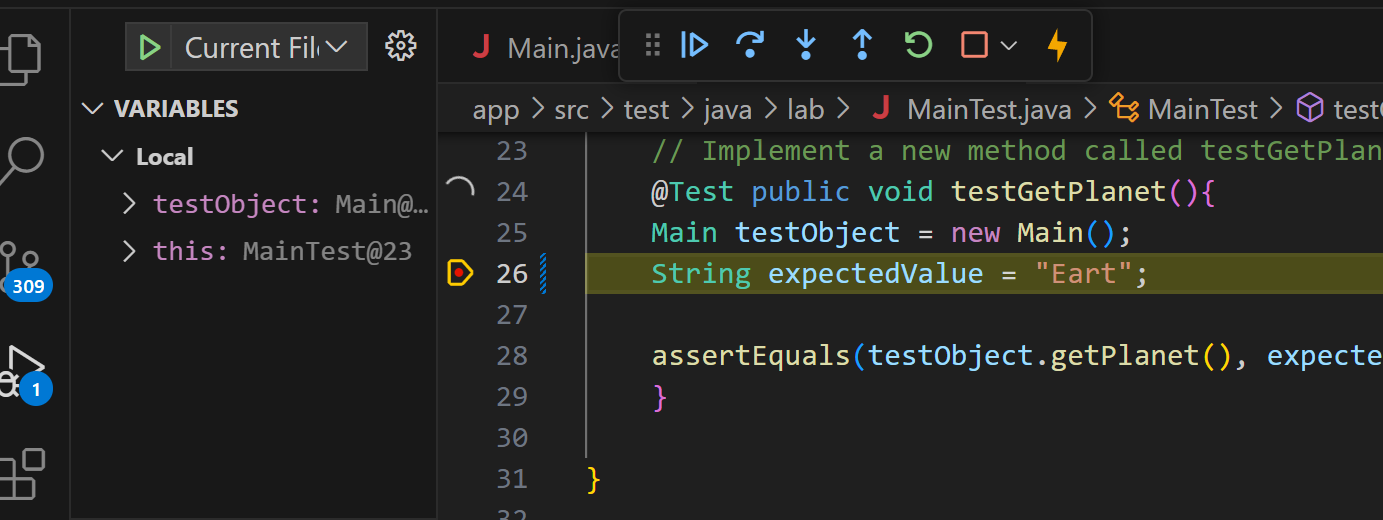
Set a breakpoint by clicking just to the left of the line number.
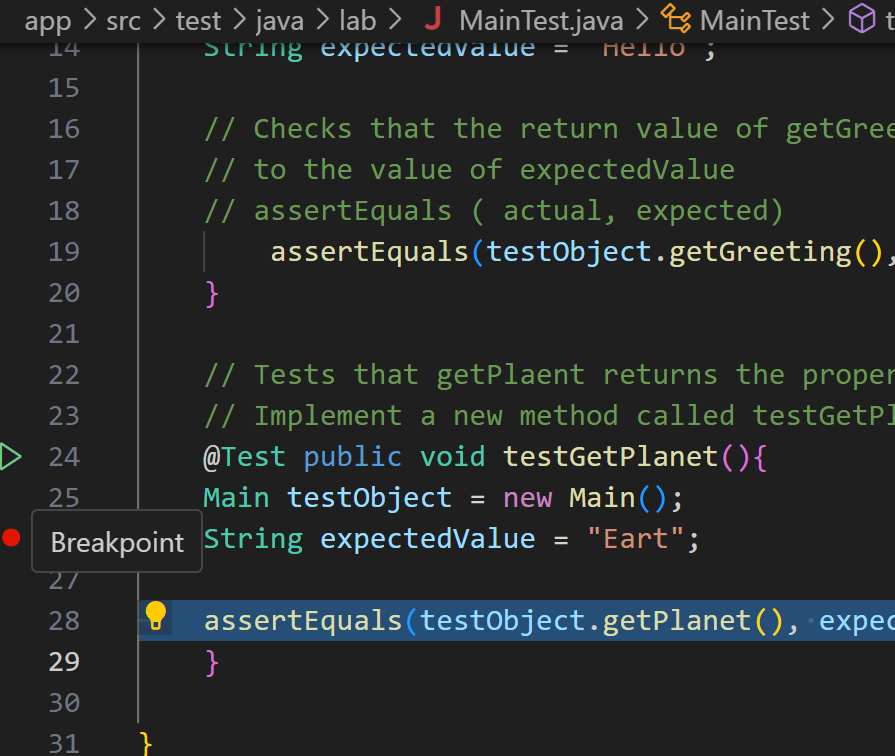
That’s where the program will stop so you can inspect the variable values